
Step-by-Step Guide to Adding Anchor Links to Your Squarespace Website

What is an anchor link?
An anchor link, also called a page jump, is a link on a website page that pulls the user to a different spot on the page. You’ll need to install a small snippet of CSS code, but don’t get overwhelmed! It’s so straightforward. This guide will show you how in a few simple steps!
Why You Need Anchor Links
(Plus a quick sales lesson.)
All buying decisions are made first based on an emotional place: be it excitement, hope, desire, or fear. Everyone starts from an emotional place - whether they realize it or not - and then they will justify that buying decision with logic. Understanding this will transform the way you do business!
The thing is some people are more emotionally based and others are more logically based. And knowing that will help you utilize anchor links to improve your website experience! Placing a button with an anchor link that pulls someone down to the pricing section, FAQ section, or inquiry form on your website meets both needs; emotion and logic. Then your potential client can follow the regular flow of a sales page utilizing storytelling techniques, strategic design, and demonstrating the transformation you offer throughout the page AND jump to a place of justifying their desire to purchase with logic and get the answers they are looking for quickly!
Step-by-Step Guide to Creating Anchor Links in Squarespace 7.1 and 7.0
STEP ONE: Create the Jump Point
The jump point is exactly what it sounds like. It’s the point on the page you want to pull the user to when they click the button.
1. Add the code block
To create the jump point on your webpage you’ll first need to add a code block. Navigate down to wherever you want to add the page jump and click the + icon. Then select “code block” from the pop-up menu of options.

2. Insert the code snippet
Then you’ll copy the code snippet below and paste it into the code block. Select the one with the style you’d prefer.
PARAGRAPH FONT:
<p id="unique-id">This is where you’ll jump to</p>
BOLD PARAGRAPH SNIPPET
<p strong id="unique-id">This is where you’ll jump to</p strong>
HEADER ONE SNIPPET
<h1 id="unique-id">This is where you’ll jump to</h1>
HEADER TWO SNIPPET
<h2 id="unique-id">This is where you’ll jump to</h2>
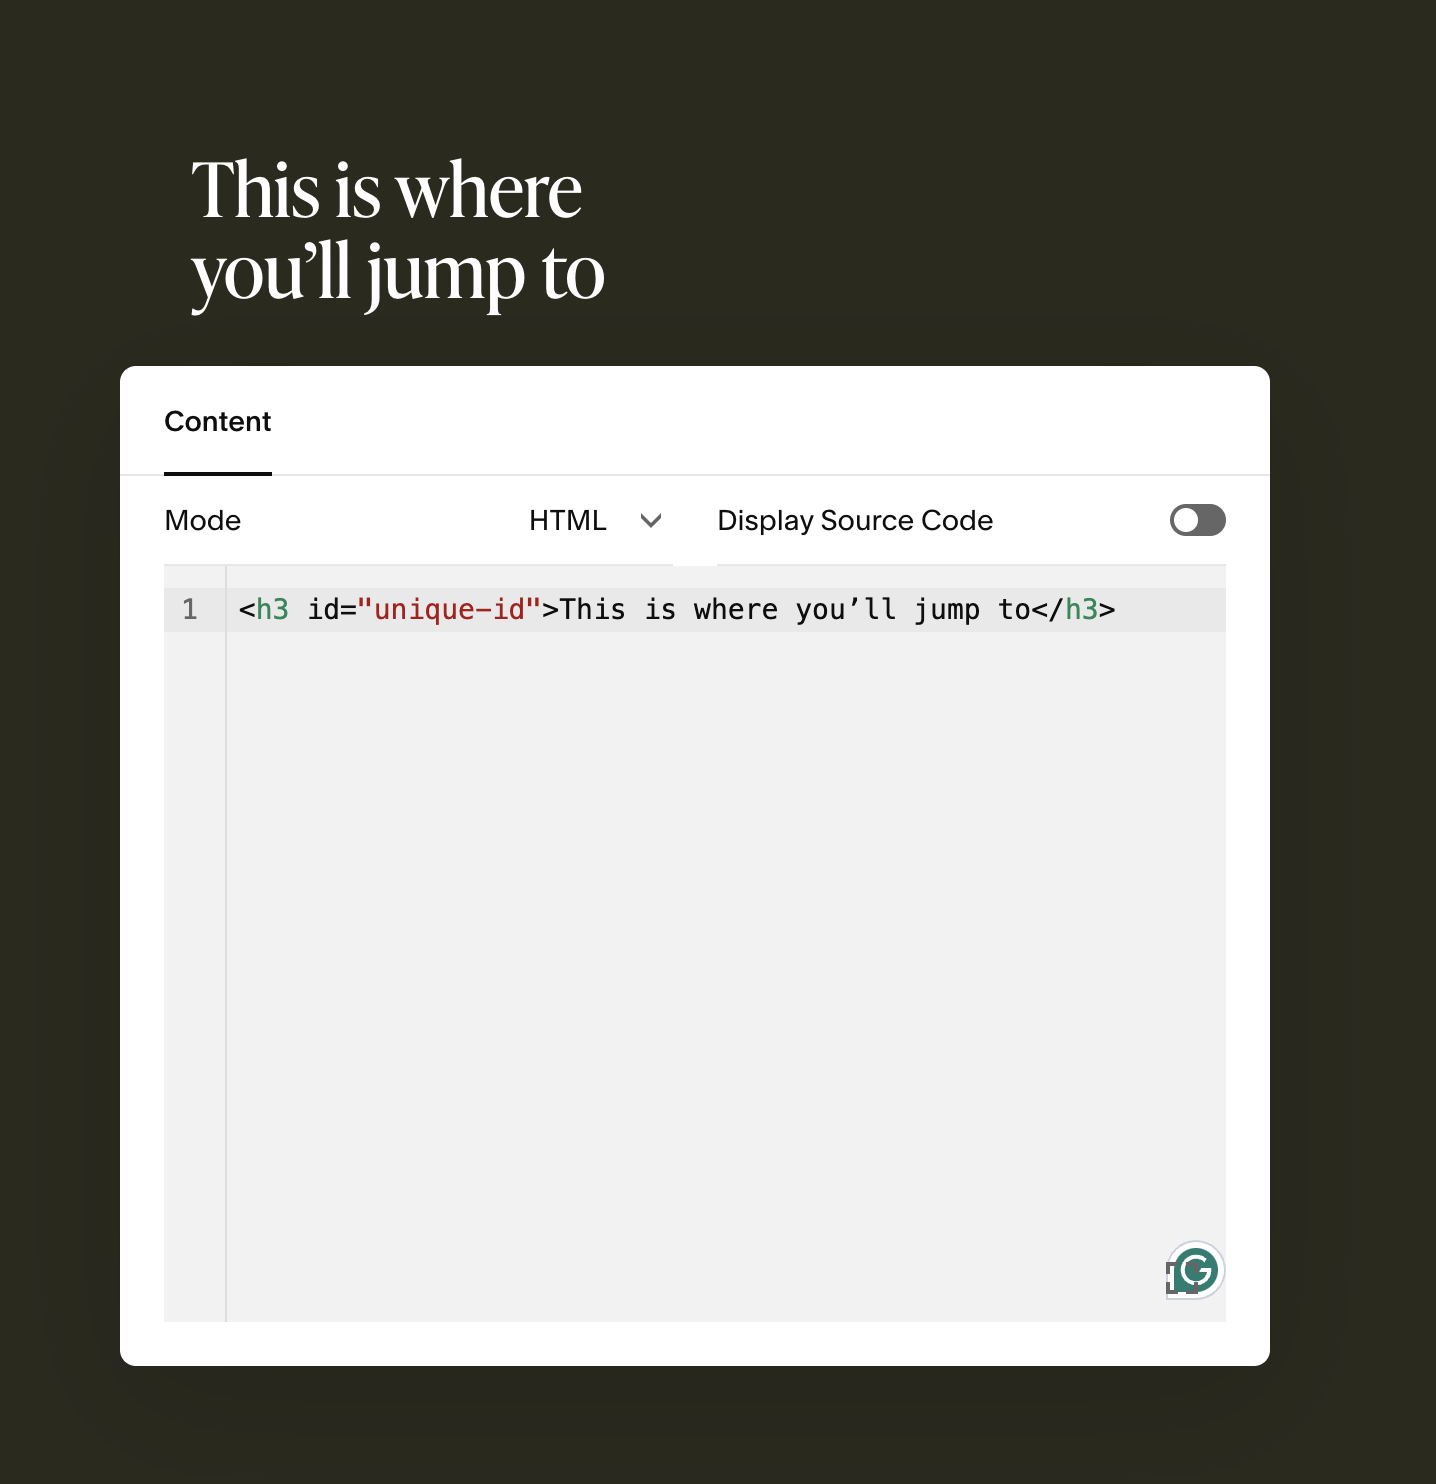
HEADER THREE SNIPPET
<h3 id="unique-id">This is where you’ll jump to</h3>
HEADER FOUR SNIPPET
<h4 id="unique-id">This is where you’ll jump to</h4>
STEP TWO: Add your unique ID
Once you’ve pasted the code snippet you’d like to use, add in your unique ID. Think of this almost as the link itself. It’s the word or words you’ll use in the button or hyperlink to pull someone down to that spot in the page, so keep it simple and memorable!
If you’re pulling someone's day to the Frequently Asked Questions section I suggest making the unique ID FAQ.
If you’re pulling someone's day to the pricing section I suggest making the unique ID pricing.
You get the idea!

STEP THREE: Edit the text or hide the block under an image.
Next, you’ll edit the text! I like to use the header or subheader of the section I want people to jump to as my jump point. But if you don’t want to mess with this step you can simply hide it under a nearby image. I suggest choosing an image that’s a half-scroll above where you want people to be pulled to.
Let’s use the FAQ example.
Your final code snippet might look like this:
<h3 id="faq">Frequently Asked Questions</h3>
(See! This is simple! And we are nearly done!)

STEP FOUR: Add the button or link
Now all that’s left is to add the link or button that will trigger the page jump! For the FAQ example, I like to add it as a secondary button under a primary button that reads “BUY NOW”.
So head back up the page to wherever you want to add your button. Insert the block and style or button.
Then instead of adding a full hyperlink, you’ll simply insert:
#unquie-id
So for the FAQ example, it’ll look like this:
#faq
STEP FIVE: Save and test!
Now all that’s left is to save your work and then test out your button! Easy peasy!
If you’ve tried and it’s not working I suggest double-checking your code snippet to make sure you’ve spelled everything correctly.

Are you ready for a website that you’re proud of?


